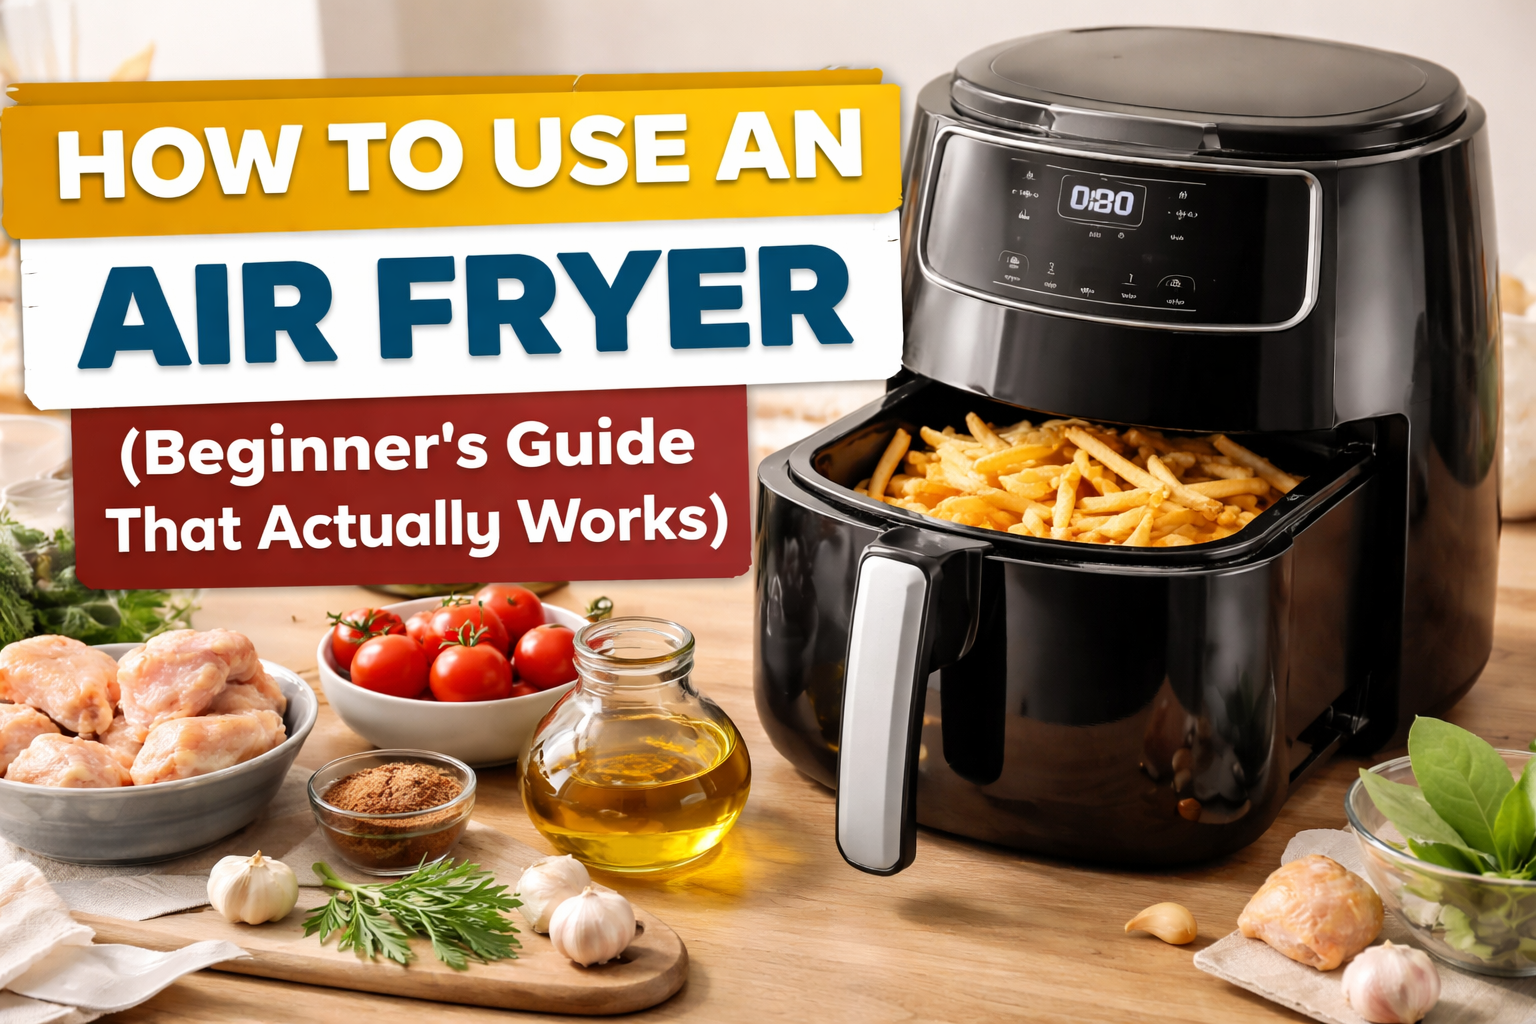
How to Use an Air Fryer ?
What I Did Wrong the First Time
Table of Contents
ToggleI still remember the first time I used an air fryer. I threw in frozen fries, set the timer, and expected magic.
What I got instead was a weird mix — half crispy, half soggy. Not great.
That’s when I realized something simple:
an air fryer is easy to use, but only if you know a few basics.
If you’re trying to figure out how to use an air fryer properly, this guide will save you from those early mistakes.
Quick Answer
To use an air fryer, preheat it (if required), place food in a single layer, set the right temperature and time, and shake or flip the food halfway through cooking. This helps achieve even cooking and a crispy texture.
What You Need Before You Start
Before you even turn it on, make sure you have:
- A good air fryer (brands like Ninja, Cosori, and Instant are reliable)
- A little cooking oil (optional but useful)
- Tongs or a spatula
If you’re still choosing one, you can check current options here — it’s worth comparing features like basket size and presets before buying.
Step-by-Step: How to Use an Air Fryer Properly
Step 1: Place the Air Fryer Correctly
Put it on a flat surface with space around it.
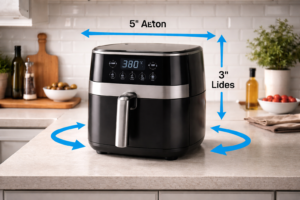
This helps with airflow and prevents overheating.
Step 2: Preheat the Air Fryer
Some models don’t require it, but I always preheat for 3–5 minutes.
Why it matters:
- Better crispiness
- More even cooking
Step 3: Add Food Without Overcrowding
This is where most people mess up (I did too).
Bad idea:
- Filling the basket completely
Better approach:
- Single layer
- Space between items
If needed, cook in batches. It’s slower, but results are much better.
Step 4: Add a Little Oil (Optional)
Even though it’s called an air fryer, a light oil spray helps.
Example:
- Fries → light spray
- Vegetables → small coating
This gives you that golden, crispy finish.
Step 5: Set Temperature and Time
Basic guideline:
- Fries → 180–200°C
- Chicken → around 180°C
- Vegetables → 160–180°C
I usually don’t trust the timer completely — I check early.
Step 6: Shake or Flip Halfway
This step alone improves results a lot.
- Pull basket
- Shake or flip
- Continue cooking
Without this, one side cooks more than the other.
Step 7: Check Before It’s Done
Always check 2–3 minutes early.
Every air fryer cooks differently — even between brands like Ninja and Cosori.
Step 8: Let It Cool and Clean It
After cooking:
- Let it cool
- Clean with warm water
- Don’t scrub aggressively
In my opinion: What Actually Made a Difference
After using an air fryer regularly, I noticed:
- Frozen foods turn out better than expected
- Fresh food needs a bit of practice
- Small adjustments = big difference
Honestly, once you learn these basics, it becomes one of the easiest kitchen tools to use.
Common Mistakes to Avoid
- Overcrowding the basket
- Skipping preheating
- Using too much oil
- Not shaking food
- Ignoring cleaning
Fixing just these can improve your results instantly.
Pro Tips That Help More Than You Think
- Use parchment liners for easier cleanup
- Avoid wet batter (it doesn’t work well)
- Light oil = better crisp
- Always check early
Related Guides You Should Read
If you’re learning air fryer basics, these will help:
- Best Air Fryer in usa 2026
- Air Fryer vs Oven
- Is Air Fryer Good for Daily Use
These guides will help you choose better and use it more effectively.
FAQs
Do I need to preheat an air fryer?
Not always, but it improves cooking quality.
Can I use foil in an air fryer?
Yes, but don’t block airflow.
Is it really healthier?
Compared to deep frying, yes — much less oil.
Can I cook everything in it?
Not everything. Avoid soups and very liquid foods.
Final Verdict
Using an air fryer isn’t complicated — but doing it right makes a big difference.
If you:
- Don’t overcrowd
- Use correct temperature
- Shake halfway
You’ll get consistently good results.
If you’re still deciding which one to get, it’s worth checking current models and comparing features — a good air fryer makes the whole experience easier.